Piped wedding cakes can carry anything from a single row of pearl dots to full Rococo swags, and the 8 techniques below range from the basics to the ornate: royal icing, buttercream, vintage styling, dotted seams, foundational methods, tip selection, draped scallops, and even piping on a rectangular sheet.
Either way, the #103 and #104 ruffle tips do the shaping, and a practice board costs less than one ruined tier.
1. Royal Icing Piping
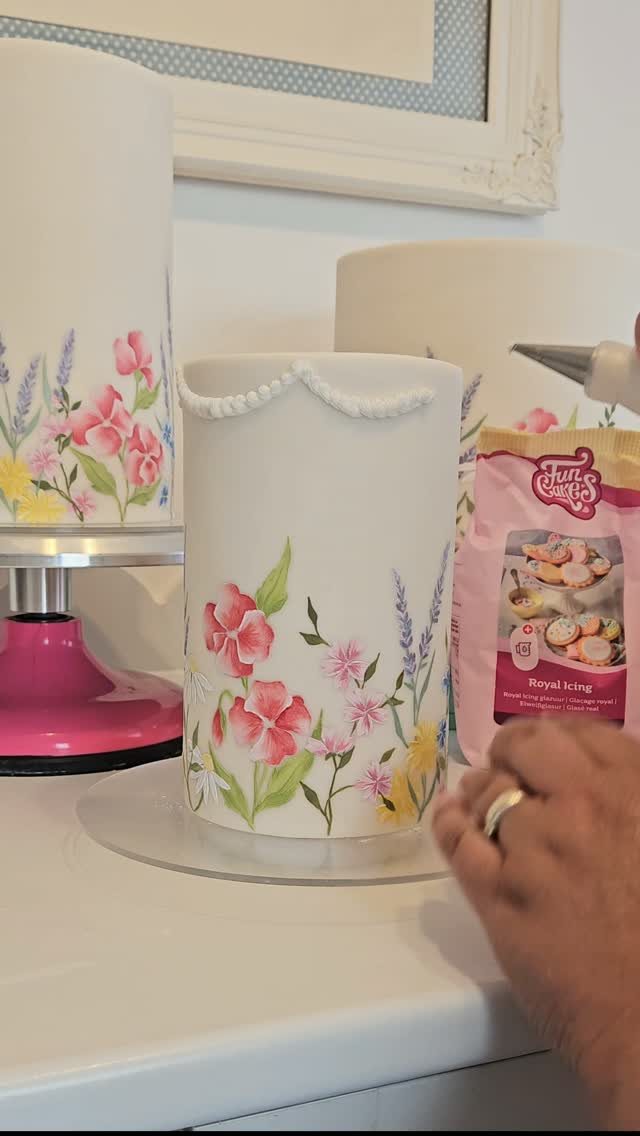
Royal icing sets hard, which means piped lines, pearls, and swags hold their shape for days without sagging. That rigidity makes it the go-to for painted cakes where soft buttercream would smudge the artwork beneath.
My go-to buttercream starts with equal weights of butter and powdered sugar, a splash of vanilla, and pasteurized egg whites for stability.
For ruffles, a tip #103 gives small ones, #104 larger; hold the fat end against the cake, keep it steady, and move the thin end in and out as you pipe.
One baker I follow scraped off her first three swag attempts before finding her groove. I’d budget that learning curve into your timeline if you are trying this for the first time.
2. Buttercream Piping
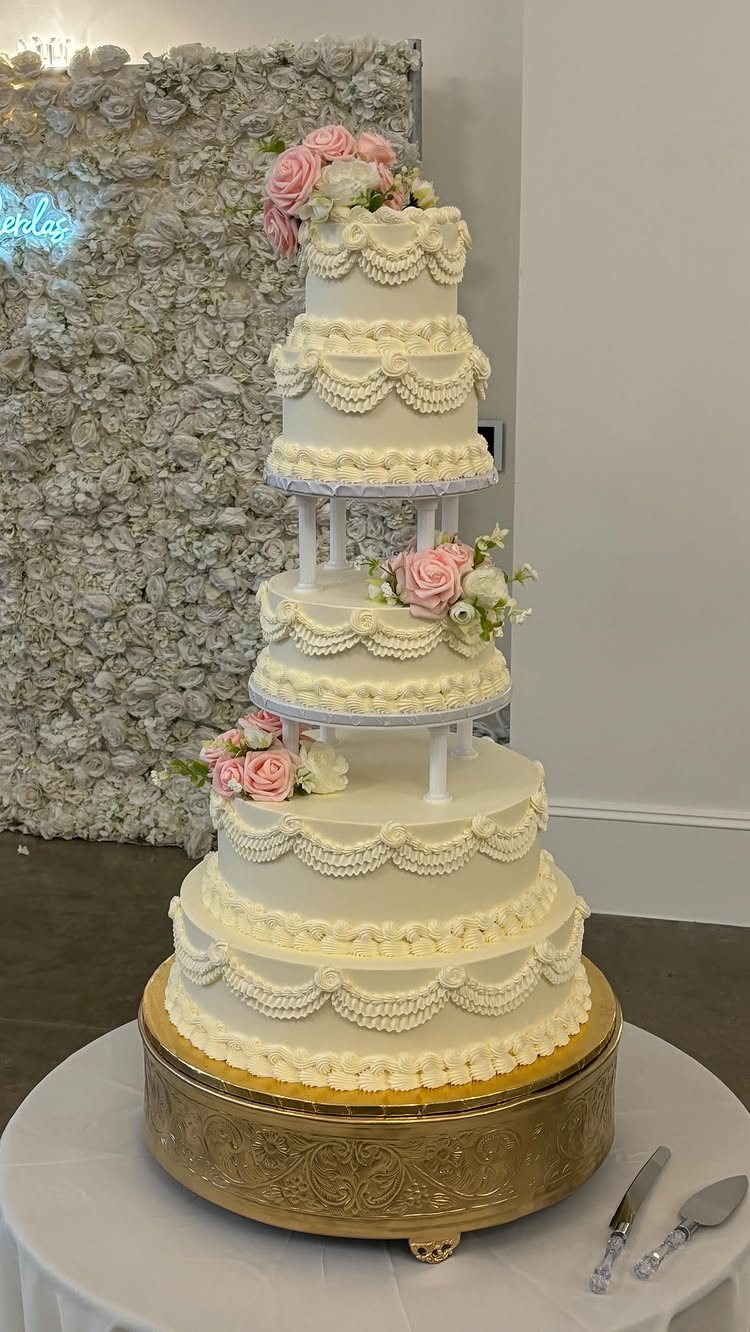
Three buttercreams handle piping differently, and the one you pick changes the finish. American buttercream crusts slightly and holds sharp edges.
Swiss meringue buttercream stays softer, silkier, and takes color more evenly. Italian meringue buttercream falls between, stable enough for multi-tier work without the powdered-sugar grit.
Swiss meringue holds the frilled, draped look that makes swags, scalloped borders, and roses between tiers possible. That softness means you cannot transport it in a hot car, but for a climate-controlled venue, it wins on texture.
For ruffles, the same tip logic applies: #103 for tight work, #104 for broader folds. I’d pick Swiss meringue for a spring wedding, American if your kitchen runs warm and your timeline runs short.
3. Vintage Cake Design
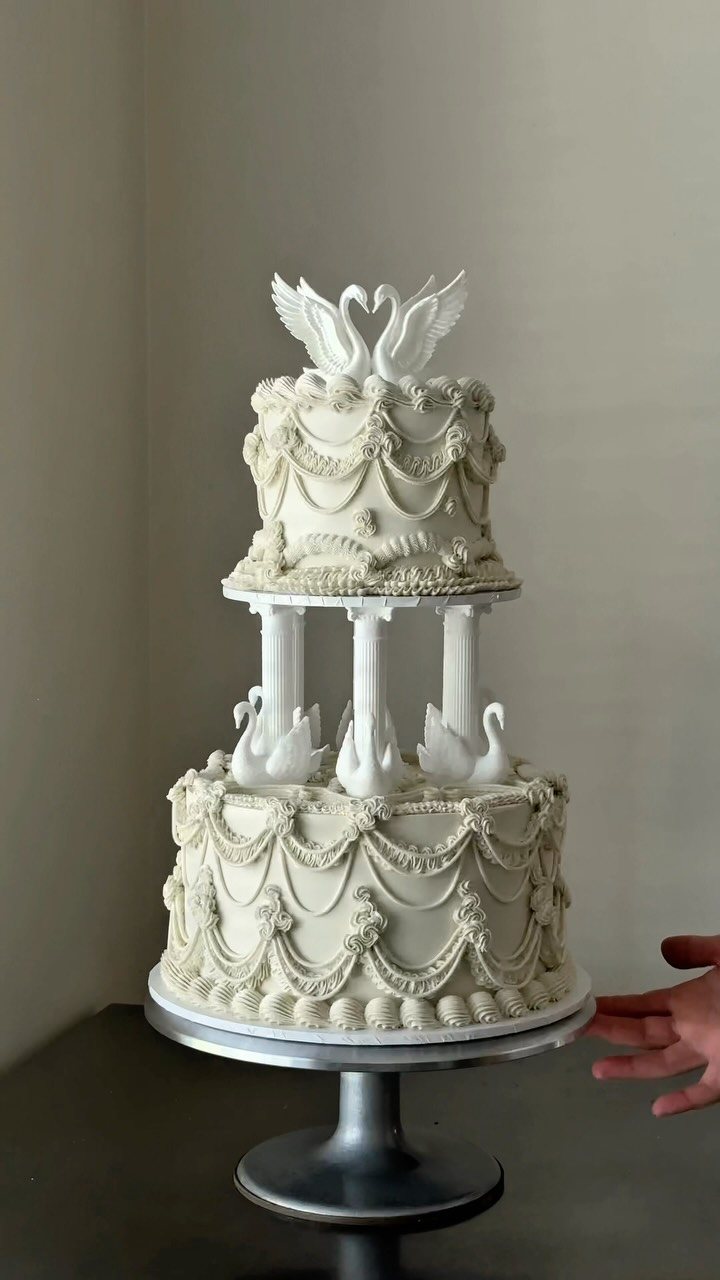
Frilly buttercream piping in swags, scallops, and lace patterns pulls straight from 18th-century Rococo ornament, and the effect is deliberately maximalist. This is not a look that whispers.
Fresh flowers can stand in for figurines and pillars, but the hand-piped details are what give the cake its period feel. Colors run from pure white to soft pastels, though the white-on-white version reads most formal.
This suits couples whose venue has architectural detail to echo: carved moldings, gilded mirrors, crystal chandeliers. A cake this loaded with hand-piped work needs a baker who builds slowly, and your budget needs to reflect that.
For a modern loft or bare barn, the same piping on a simpler cake keeps the technique without the costume-drama effect.
4. Dotted Seam Piping
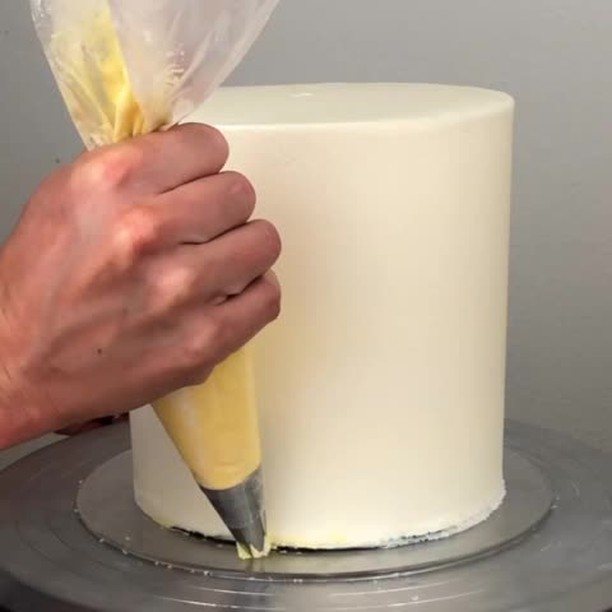
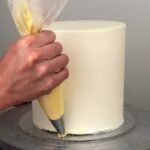
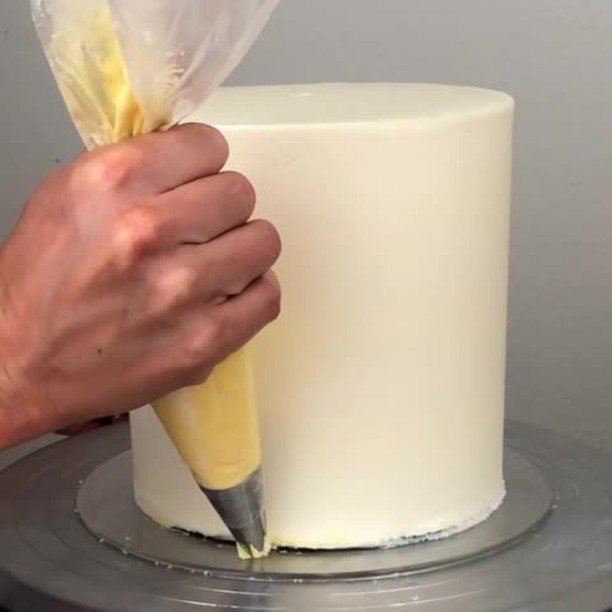
A number six round tip and steady pressure turn the gap where cake layers meet into a decorative feature instead of a flaw.
Each dot should touch the next, all one size, forming a pearl-like line that draws the eye downward.
The technique works best on a chilled cake; cold frosting stays firm while you pipe, and a cake left overnight in the refrigerator holds that cold from the inside out through the whole decorating session.
That matters more than you’d think on a 3-tier build where the last tier is still waiting when you finish the first.
Yellow frosting on white, as above, makes the seam a deliberate accent. Match the dot color to the base and it disappears into subtle texture.
I’d choose the contrast for a modern cake, the match for traditional.
Hide the seams on your cake by using this beautiful, pearl-like frosting technique. Decorating a wedding cake was never so easy!
5. Basic Piping Techniques
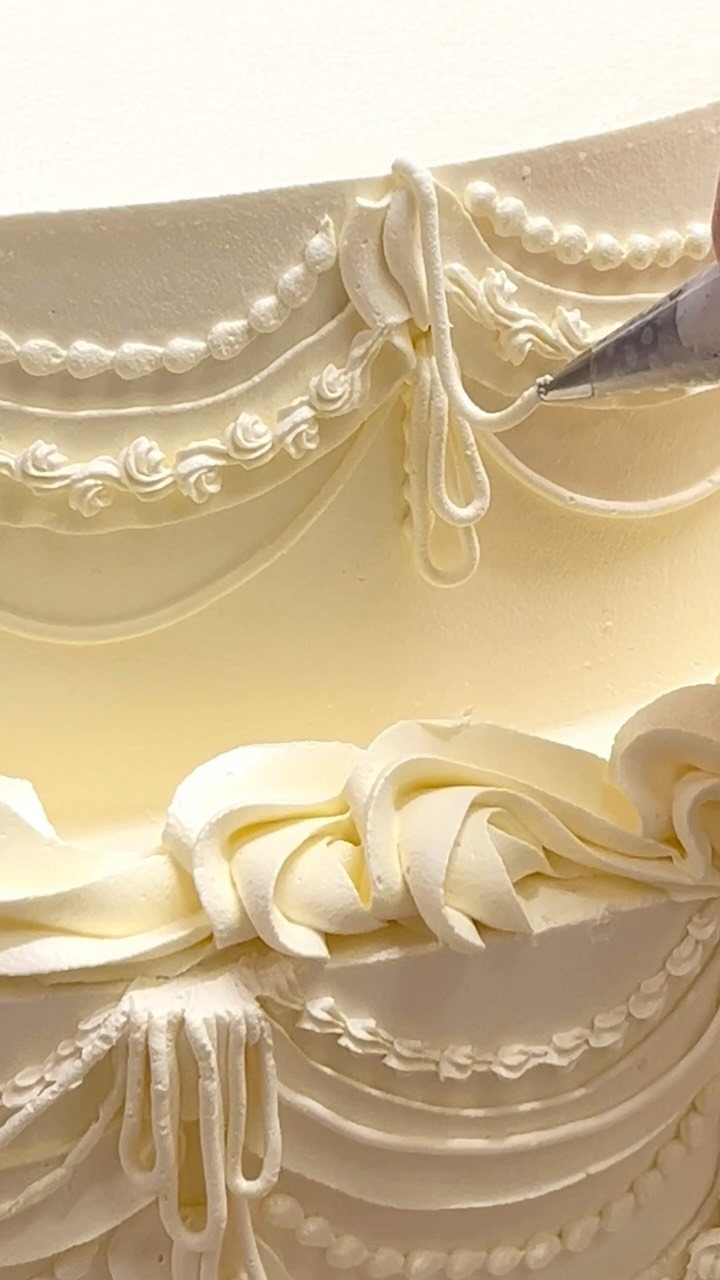
Round tips write names and dates. Star tips build borders with ridged texture.
Ruffle tips create draped fabric effects. These three skills cover most of what a wedding cake asks for, and none of them demand expensive equipment.
Curved swags and draped lines come from controlled pressure and consistent speed more than from any special tip.
A masterclass on architectural scrolls taught one baker she’d been mixing her royal icing wrong for 13 years; the fix was in the basics, not the advanced moves.
Start on a dummy cake or a practice board. Piping directly on the final cake leaves no room to scrape off and restart, and even confident hands need a few minutes to find their rhythm.
6. Piping Tips Selection
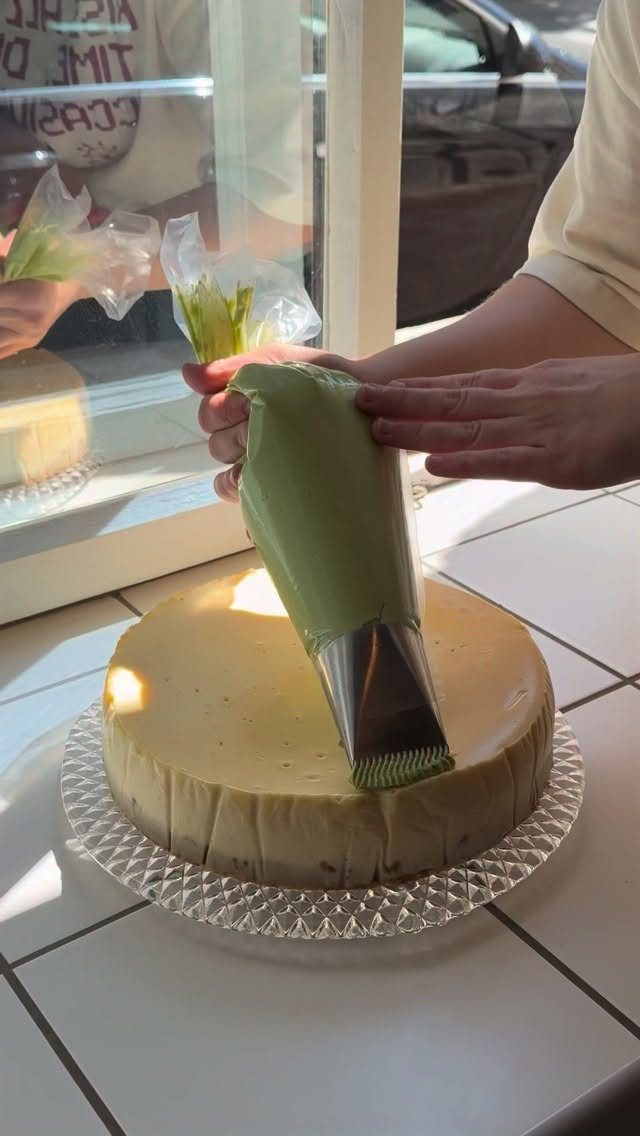
The flat, petal-shaped tip is built for ruffled edges and buttercream roses; #103 runs smaller, #104 larger, and the difference shows in finished width. That single size step changes whether a ruffle reads as delicate trim or bold statement.
For writing and monograms, round tips in small sizes give clean lines. The wrong tip turns a planned 20-minute border into an hour of fighting your own hand.
I’d buy a basic set of round and star tips first, add ruffle tips only if your design needs them, and test each on a plate before touching the cake.
A set of practice bags saves more in ruined frosting than it costs.
7. Piped Swags and Scallops
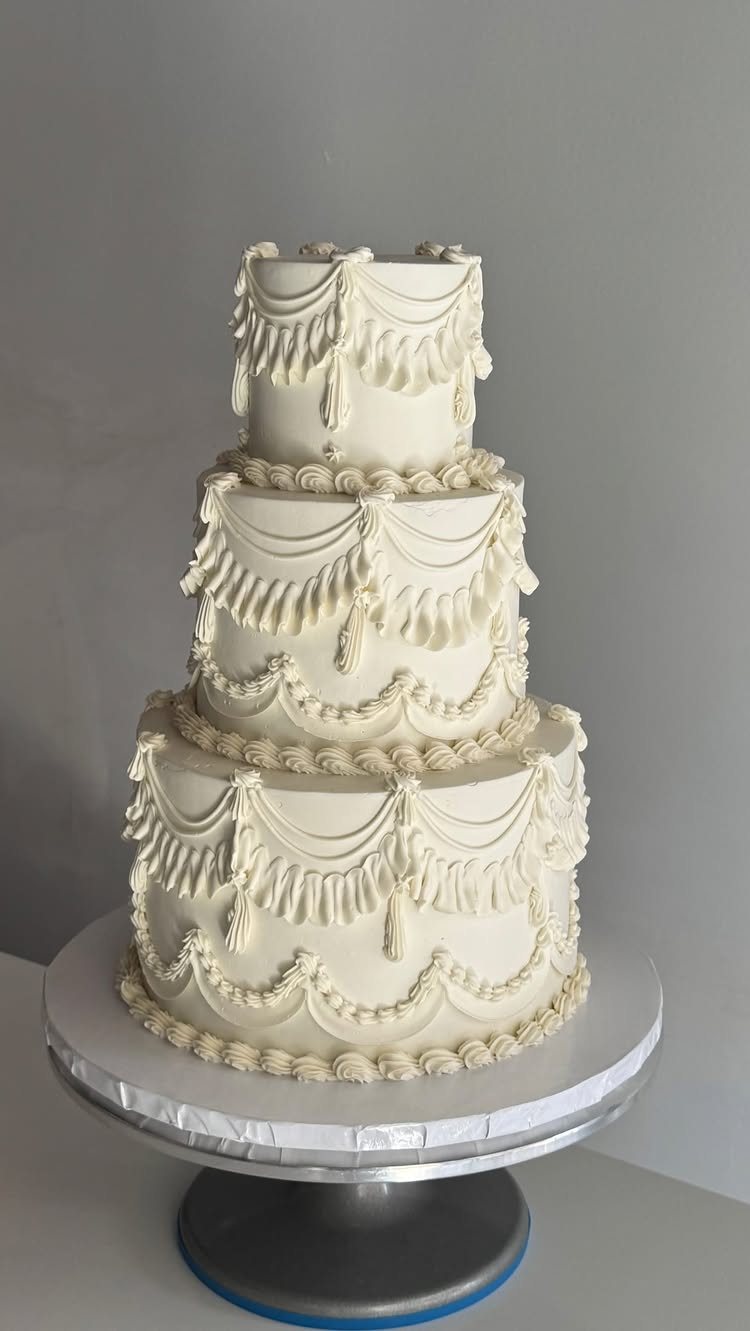
Piped swags and scallops borrow from draped fabric, turning buttercream into the illusion of folded cloth hung between points.
The technique suits bakers who have mastered a steady pressure hand and want their cake to read as formal without fondant or gum paste.
A small offset spatula and a #104 or #127 petal tip do the shaping.
The scallop depth is set by how far apart you mark your upper and lower dots before you pipe; a shallow vertical drop looks delicate on a narrow tier, while a deeper drop carries better on something wider.
Tassels at the swag’s lowest point need only a #2 round tip and a downward pull.
The full effect needs a day when humidity stays low, since buttercream softens and the ridges blur. I would reserve this for round tiers; the geometry fights you on square corners.
8. Rectangular Sheet Cake Piping
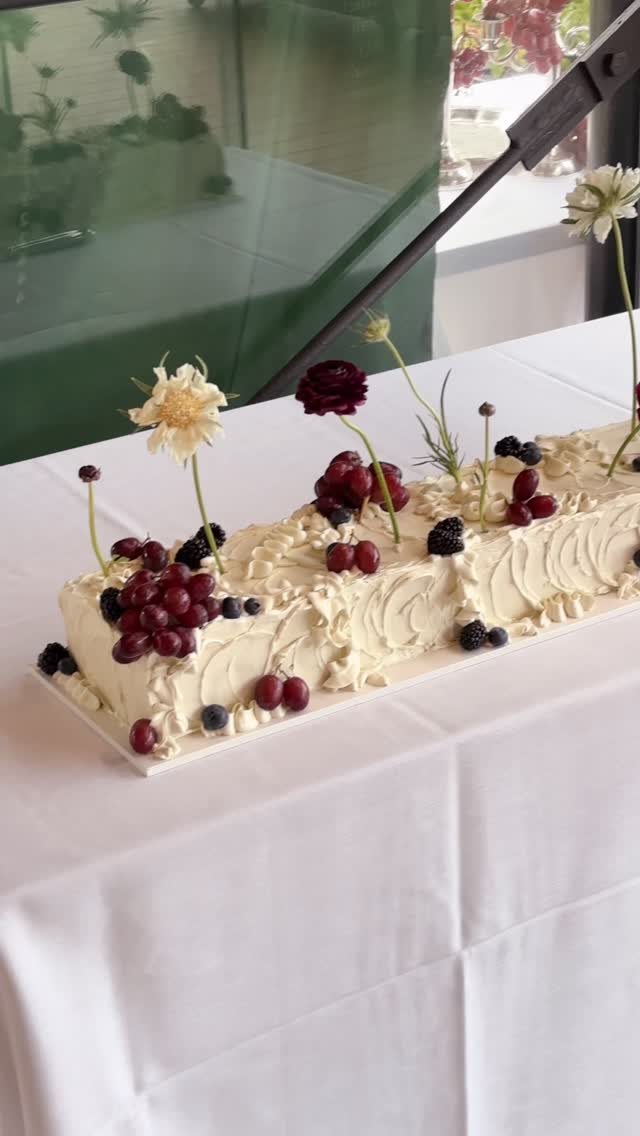
A rectangular sheet cake is what most guests actually eat at a wedding, and piping can make it feel considered rather than apologetic.
The long face gives you a horizontal runway: repeating borders, a running vine, or a simple quilted lattice read as intentional because the eye travels with the shape.
Fresh fruit and flowers do the heavy lifting for color and height. The baker’s job is restraint: a too-busy piped base competes with what sits on top.
A shell border or reverse shell at the base, then a single combed or textured band across the top third, leaves room for clusters of grapes and berries to sit without crowding.
Buttercream crusted smooth takes a bench scraper and chilling between coats; the piping itself adds a modest stretch of time more. I would skip the fruit if the cake sits out in real warmth for any real stretch of time.
A fully piped design, no fruit, travels safer and slices cleaner.
Frequently Asked Questions
What are the piped cakes called?
Cakes covered in elaborate buttercream piping are often called vintage cakes when the style draws on 18th-century Rococo ornament with swags, scallops, and lace patterns.
The same techniques on simpler designs are usually described by their specific finish: dotted seams, ruffled tiers, or piped swags and scallops.
How to use piping on a cake?
A styrofoam dummy or practice board saves the real cake from your first attempts, because buttercream sets fast and does not forgive a scraped-off mistake.
I leave the cake in the refrigerator overnight; cold buttercream holds its shape instead of sagging under the warmth of my hands.
The tip matters less than the pressure and the pace, and even steady hands need a few passes to settle into a rhythm.
What are vintage cakes?
Vintage cakes are buttercream cakes with frilly, over-piped designs that trace back to French Rococo style of the 1700s. Swirls, lace, basketweave and frills build the surface, usually in white-on-white or soft pastels.